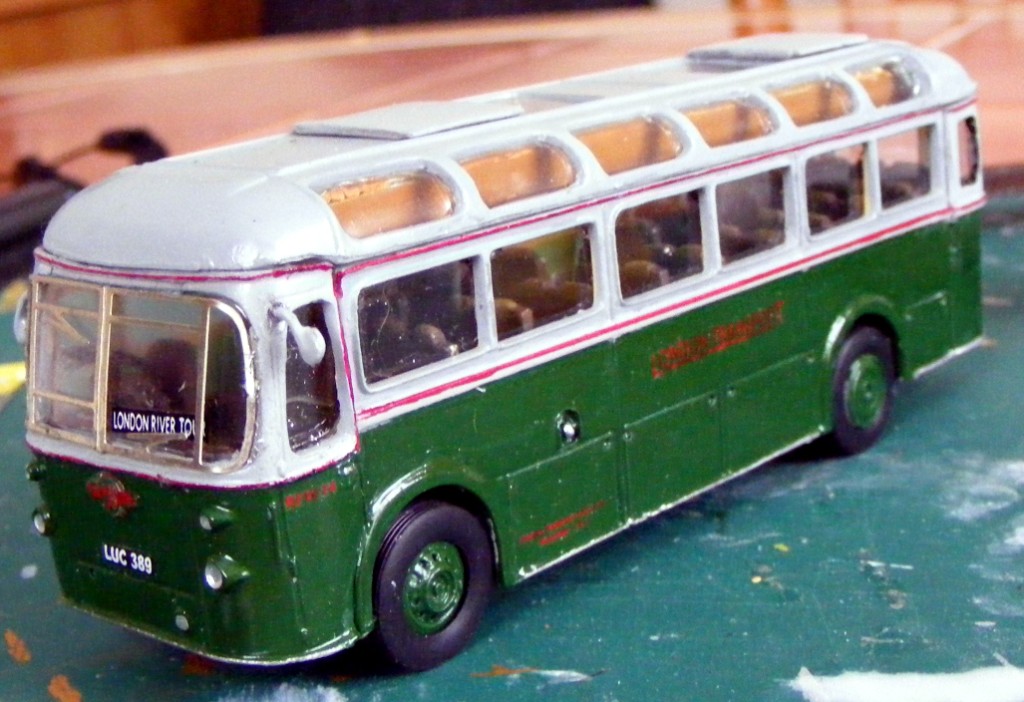
ECW-bodied AEC RFW -
London Transport
RTC Models KIT NO. 17
Review by Andy Kent


I
have made RTC white metal kits before (TF, LTC, Bedford Canteen and
mobile canteen) and have to say the castings are extremely good with
virtually no flash and only minimal filing and have to say this one was
no different.
All RTC kits come with written instructions with a contents list and
exploded diagram on the rear. The model comes with moulded clear plastic
sky lights, windscreen and, rear screen, and also gives you clear
plastic mouldings for the two roof openings which, if you want the
sliding roof open, stops dust getting into the interior! It also comes
with a nickel silver front windscreen surround.
After a quick clean up of the castings it was off to the shed for a
spray of undercoat. I found it almost impossible to find a gloss light
grey for the top coat so opted for a semi-gloss enamel and green for the
lower half. Once the entire exterior was painted it was time to start on
the interior.
 The
floor as always ended up dark brown with the inside walls a light tan
along with the luggage racks (these also had the lights picked out in
silver) make sure you put the luggage racks on the correct sides (the
two shorter ones on the offside either end of the side emergency exit).
The instructions also give you a seating plan so there’s no excuse for
getting it wrong or spending hours figuring it out!
The
floor as always ended up dark brown with the inside walls a light tan
along with the luggage racks (these also had the lights picked out in
silver) make sure you put the luggage racks on the correct sides (the
two shorter ones on the offside either end of the side emergency exit).
The instructions also give you a seating plan so there’s no excuse for
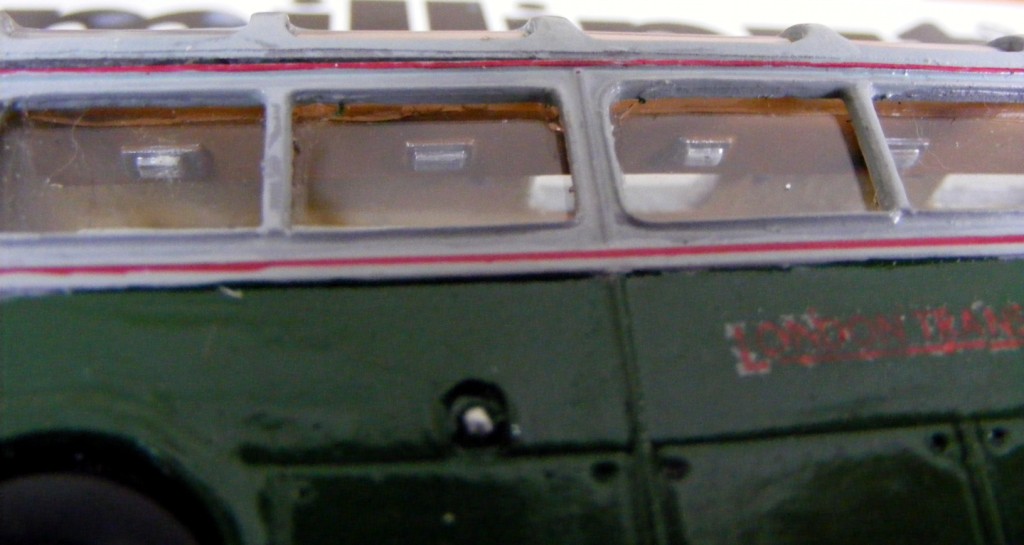
getting it wrong or spending hours figuring it out!Next up was the glazing, the fitting of the side skylights was a bit tricky and took a little bit of filing to get fitted correctly - I found cutting these completely away from the moulded roof glazing easier and after this all the glazing went in without a problem; this included the front and rear screens.
 The
fitting of the sides and front/rear castings together normally takes the
longest as it has to be square or nothing else will fit correctly, I
generally use the roof or floor as a guide.
The
fitting of the sides and front/rear castings together normally takes the
longest as it has to be square or nothing else will fit correctly, I
generally use the roof or floor as a guide.Then I loose-fitted the floor and glued in the seats, dash and steering wheel etc. The overhead luggage racks were fitted with superfine milliput as I didn’t want the superglue frosting the glazing on the rooflights. The side glazing was fitted with ‘glue and glaze’. Once this was done the chassis/floor had its wheels fitted before being glued into the body. The seats were painted a gloss brown with tan headrests.
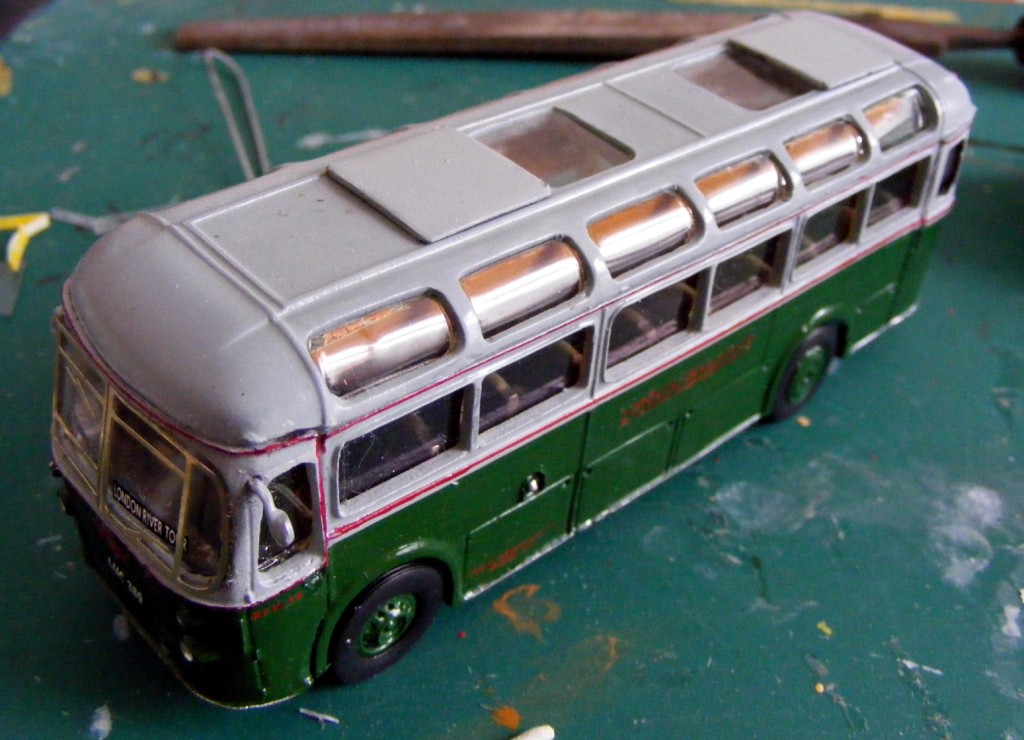 Next
was the roof, being extremely careful to only glue it at the front and
rear so as to avoid the glazing. Lastly was the nickel silver front
screen surround, once suitably bent into shape I glued in using a
solvent free adhesive so as to avoid damaging the screen.
Next
was the roof, being extremely careful to only glue it at the front and
rear so as to avoid the glazing. Lastly was the nickel silver front
screen surround, once suitably bent into shape I glued in using a
solvent free adhesive so as to avoid damaging the screen.Finally I picked out various details in silver for the headlights and red for the rear lights, the very last bit used an Eddings fine liner pen to draw on the red band.
The decals were brought from RTC and I found these extremely - flimsy even with the greatest of care the London Transport fleet names fell into three bits; but that is my only, and very small, whinge.
This was quite a challenging kit because of the moulded glazing in the side lights/ front and rear screens but a joy when the obstacles were overcome, I would recommend this kit for the intermediate modeller.
Andy Kent