|
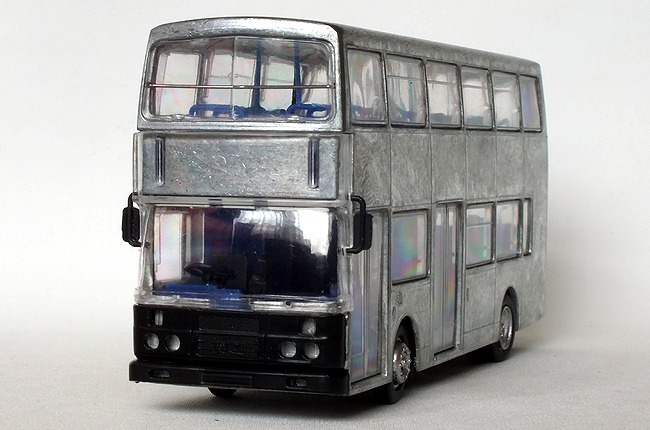
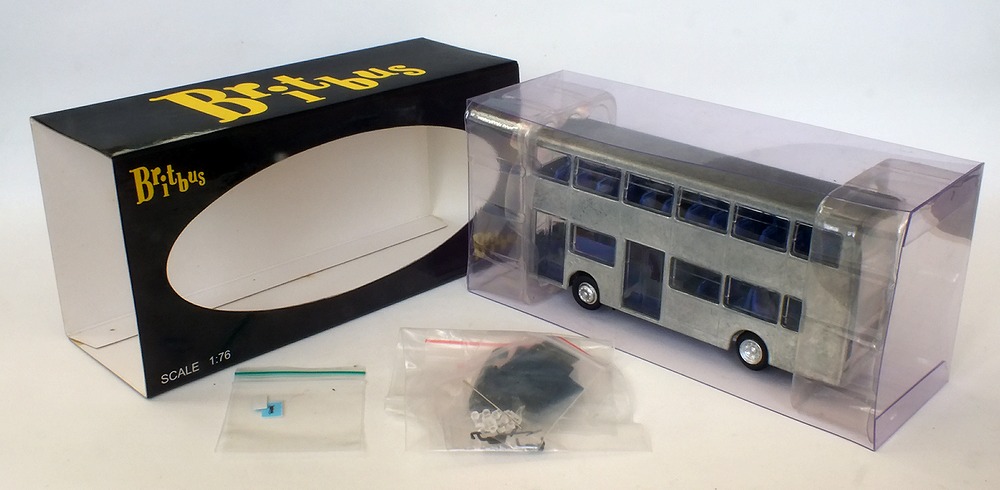
Model Buses Creations have commissioned Britbus to produce a batch of models in unpainted & part assembled form. The first model is an Alexander R type Leyland/Volvo Olympian, that was popular with Dublin bus.
The initial run is limited to 100 pieces, but a further batch of 50 enhanced versions with extra parts is planned.
This model & the Creations range is a partnership between Mark Oakley of Model Buses Collection & Iwan Jones of Iwan’s Bus Bits, they have created a Model Bus Brand for the Creation and Development of ‘Highly Detailed Model Buses In Miniature’ for Collectors and Enthusiasts across the UK and around the World.
|
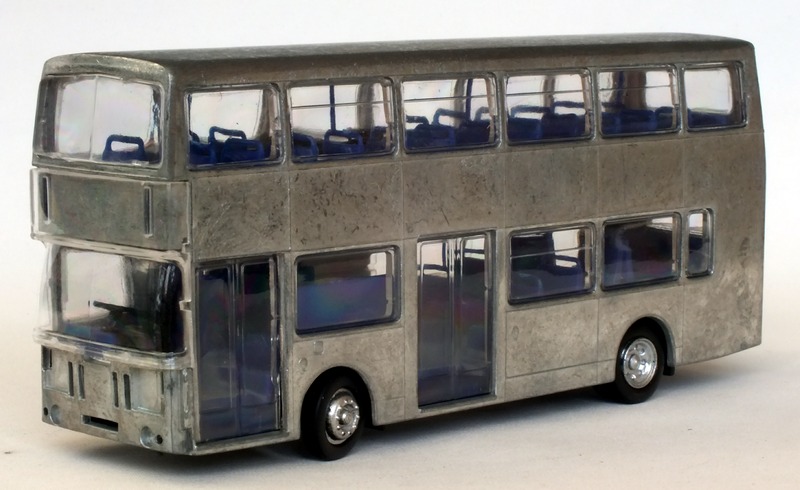
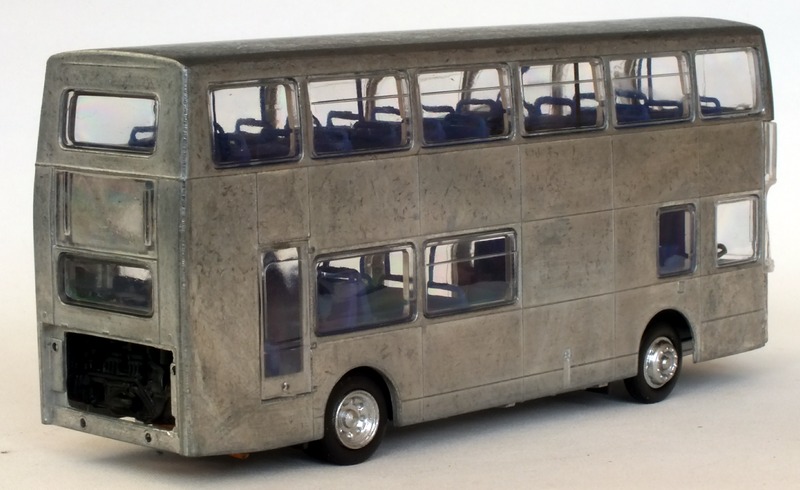
The model is supplied partly assembled, but can easily be broken down into its component parts
|
|
Who is this product aimed at?
Well there's always been modellers who have either wanted to produce reproductions of a particular operator livery, or have their own fictitious model bus fleets. The easiest way to achieve these goals has been to use an existing off the shelf commercially produced model and repaint it in the desired new livery.
The downside of this option is that you need a fully painted & assembled donor model, a fact that will be reflected in its price. You will then have to disassemble it & likely strip the existing paint. Britbus models use glue in their construction and have plastic body sections, making the process even more difficult & time-consuming..
Unsurprisingly, an easier and quicker option would be to obtain the model in its unpainted & pre-assembled form, unfortunately until recently this is an option rarely offered by the model manufacturers themselves.
It's therefore great to see Britbus willing to produce such kits as commissioned items for third parties. Britbus recently produced a similar Scania Omnidekka kit for Omnidekka Models.
I'd say this is a kit for someone who's previously dabbled in repainting die-cast models. It's going to need some skill to get a good finished model, various clear plastic parts will need to be masked & painted, while some body panelling detail will need to be added using paint.
There are no assembly instruction supplied, so a bit of trial & error might be required to work out the best order of assembly, particularly if you're not familiar with the construction of these models.
The base model's bodyshell was originally designed to allow a fairly wide range of body variations & chassis types to be modelled. Some panel detailing, particularly around the rear engine side panels, being tampo printed to match the correct variant.
Its certainly going to be a project that's a lot more challenging than say an EFE or Corgi OOC model, these tend to have more of the detailing cast and less clear plastic parts needing to be masked before painting.
This is the first time I've looked at the construction of a Britbus model. I've repainted EFE & Corgi OOC models in the past, and although these are somewhat simpler to work on, they offer a more limited scope for variations unless you're willing to physically modify the metal casting.
What's Supplied?
The Britbus model comes partly assembled with the glazing, interior, and base all fitted inside the diecast bodyshell. The base easily lifts out of the bodyshell, allowing the glazing, upper deck seating & ceiling components to be removed. The body also has a clear exterior plastic panel at the rear which locates to the body with two tabs, and the front windscreen component that incorporates an extension above for the front destination display.
These panels allow the possibility of producing glazed destination displays with the transfers applied behind the panels, this option would however require careful masking of the panels before painting to achieve the desired style of destination display.
The chassis & wheels can be detached from the baseplate & lower deck interior if desired, two small cross-head screws just need to be removed. The plastic tyres can be removed should you wish to repaint the pre-painted silver hubs.
The one piece diecast bodyshell is flash free, the rear engine panel & surround can probably be fixed in place before painting. The front panel & bumper will have to be painted before fixing, as both have clear light inserts that need to be glued to their rears.
|
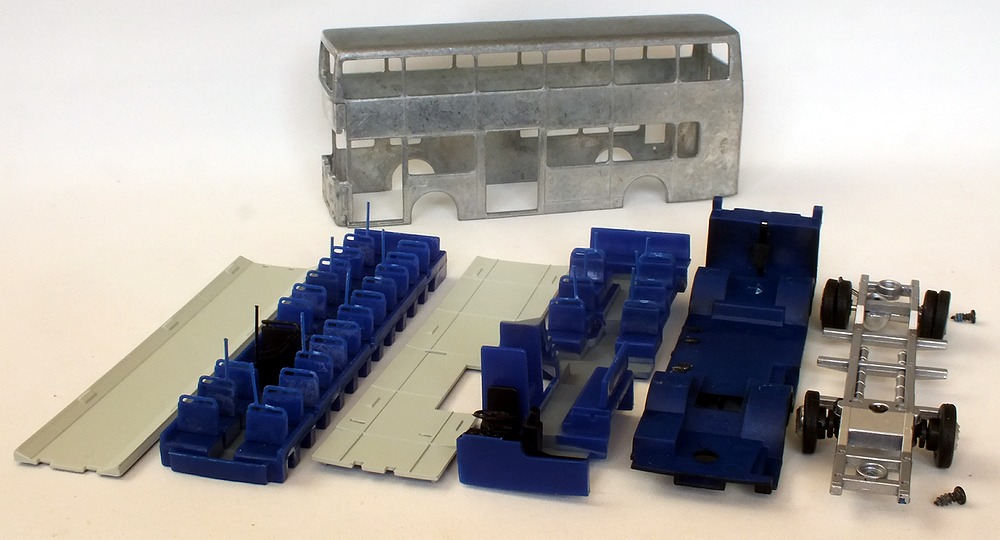
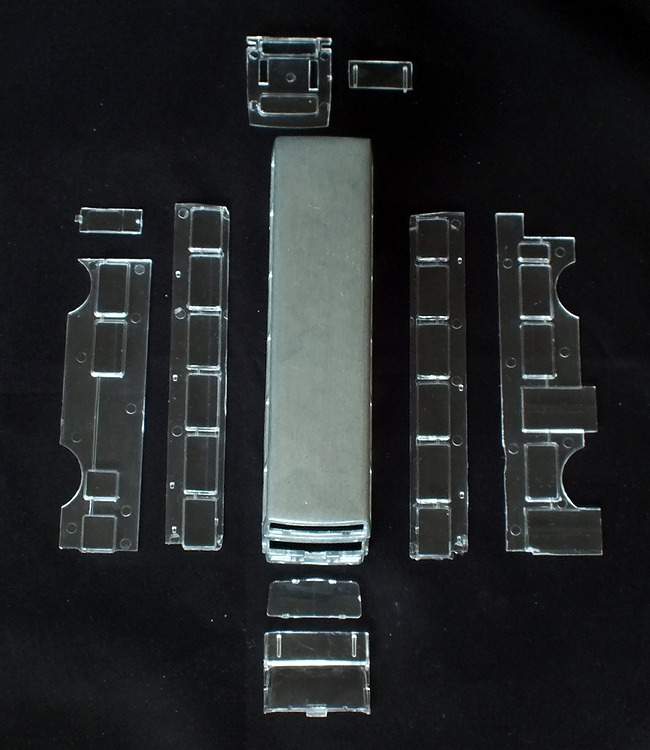
The model comes partly assembled with all the major component loosely fitted inside the bodyshell, most of the glazing is a push fit, but will need to be painted to highlight detailing & panelled areas
|
|
The glazing has moulded detailing for the surrounds & glazing bars, masking will probably be required to allow the neat application of paint to the raised features, and reproduce the painted areas on the passenger & rear emergency exit doors.
|
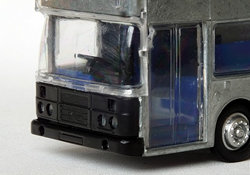 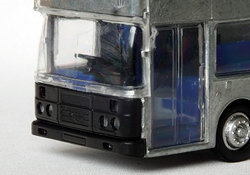
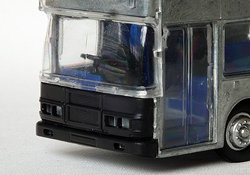 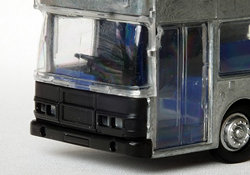
There are four possible bumper & grille combinations,
the pictures on the left show the correct, as delivered combination, for the Leyland & Volvo versions
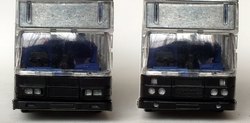 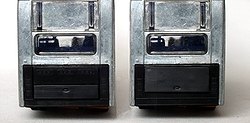
The front & rear panel sets for the Volvo & Leyland versions of the vehicle
|
|
Other smaller components come in re-sealable plastic bags, these contain the rear engine access panels & surrounds, front grilles & bumpers. There are two alternatives of all these parts, allowing the production of either the early Leyland or later Volvo versions of the vehicle.
All of these black plastic parts have rear tabs that locate into holes on the main bodyshell.
|
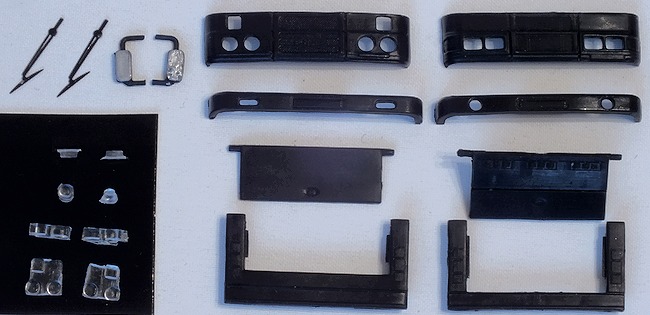
The front & rear panels sets for the Volvo & Leyland versions of the vehicle,
front light inserts, mirrors, etched wipers & upper deck grab rail
|
|
Etched black windscreen wipers are included along with two black plastic mirrors, these already have silver paint applied to represent the mirror side. Again, these will all need to be fixed in place with glue.
|
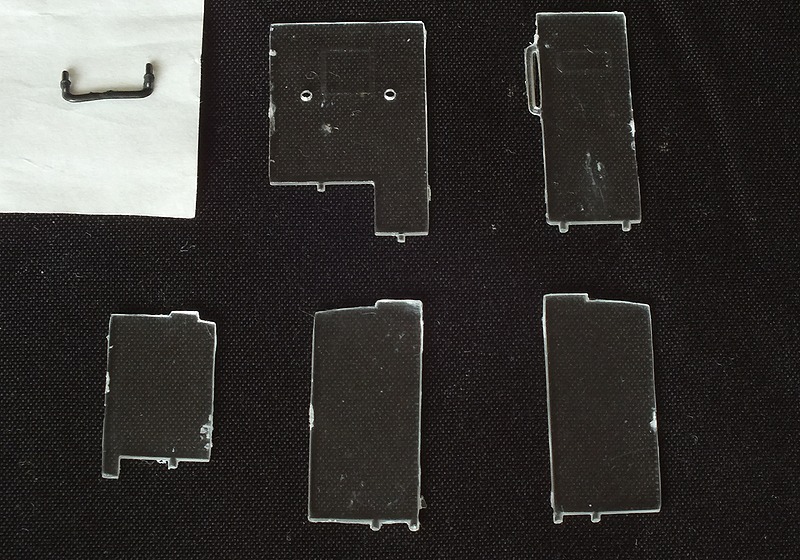
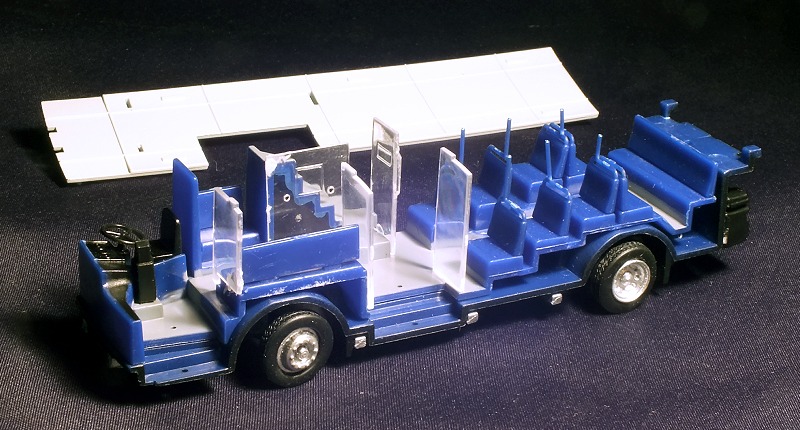
There are five clear panels that need to be painted & glued to the lower interior seating component
|
|
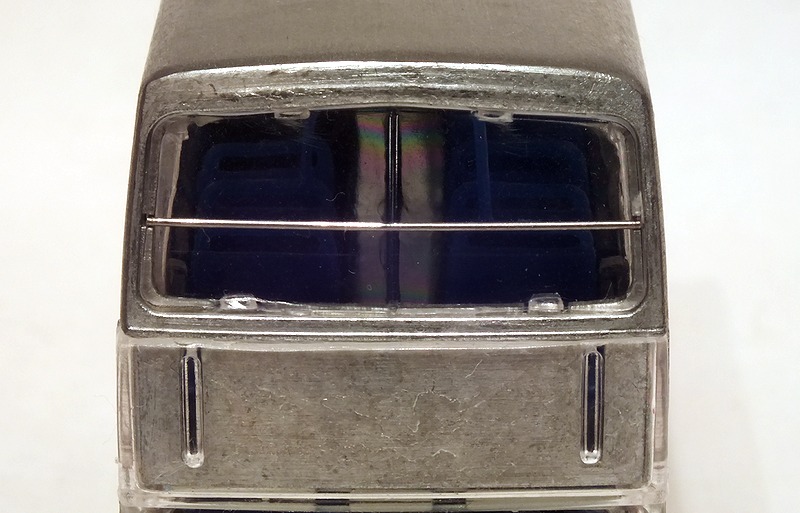
Finally, there are parts for the interior, these consist of four clear plastic partition panels, the staircase gangway panel, an internal metal pole which fits behind the front upper window, and a grab rail for the staircase panel. These panels will all need to be masked and painted to form the correct glazed areas.
Sadly, although there are location holes in the lower deck floor, there are no components supplied for the grab poles on the steps leading up from the passenger entrances. These can probably be reproduced with suitable gauge wire, but including the plastic originals would have further enhanced kit.
|
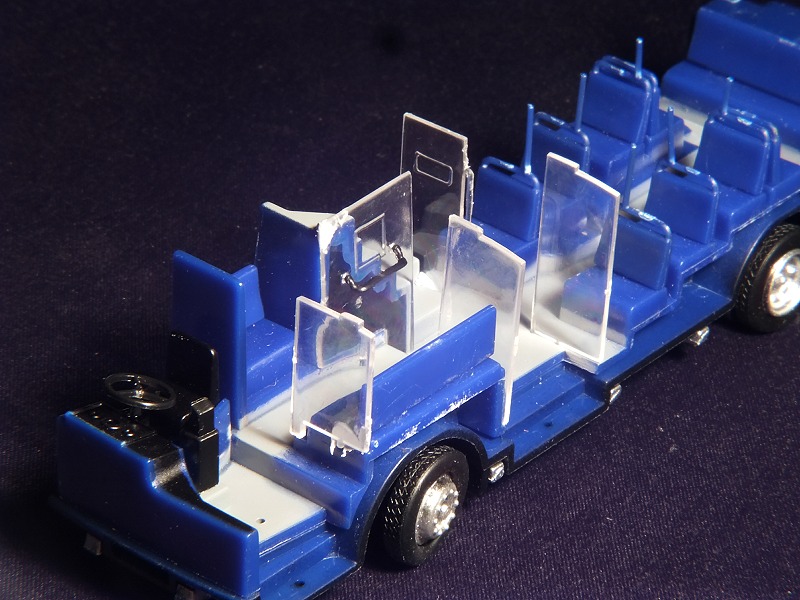 
The internal parts fitted to the lower seating component
& the pole fitted behind the front upper deck window
|
|
The internal seating units are blue plastic, but have the floor & staircase pre-painted light grey, The driver's cab area is likewise pre-painted black. Both the upper & lower deck ceilings are also pre-sprayed light grey.
On the review kit, the upper deck had a dusting of white power on the seats, this is probably a release agent used in the injection moulding process. It was easily removed with a small paint brush.
The fit of some parts supplied wasn't great, the lower profile of the staircase panel doesn't match the stepped floor panel. A tab on the top of the panel forward of the centre entrance will need filling off as there is no corresponding slot for it in the ceiling component!
|
 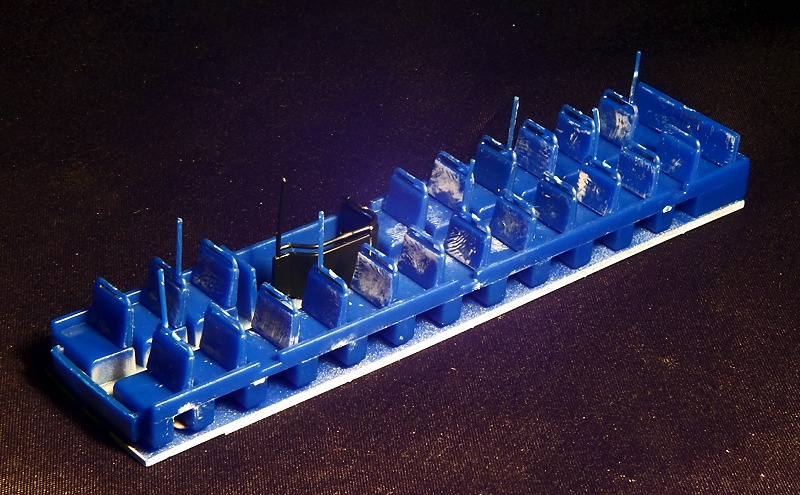
The lower & upper interior detailing
|
|
All the internal parts will need to be glued into place on the lower seating component, & then to the lower deck ceiling before the final assembly of the model. This looks to be the most fiddly part of what is an otherwise a fairly straight forward model assembly process.
|
The upper deck ceiling & glazing seems to locate fairly securely in place without the need for glue. This is also true for the lower deck interior & base, which need to be lowered in rear first & then pushed down at the front. Fixing the front bumper secures all the internal parts.
The exterior rear between decks plastic panels, windscreen & rear emergency exit door will need to be fixed in place with glue. From bitter experience, I'd recommend a two part epoxy glue rather than Super-glue, as that avoids the risk of any fumes causing oxidation on the clear plastic parts.
There are three waterslide transfers included, these are manufacturer badges for Volvo, Leyland & Alexander.
|
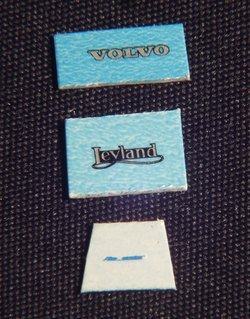 
The kit comes with three manufacturer transfers
Packaging is the standard Britbus plastic tray & card sleeve
|
|
This kit will be welcomed by many, and cuts out much of the work involved in disassembling & stripping a pre-painted model. It's also somewhat cheaper at £35.00 than sourcing what can be quite hard to find earlier standard or recent commissioned Britbus releases.
It will be interesting to see whether demand for these kits, makes it worthwhile to produce further kits of other previous Britbus & possibly B-T range models.
At the time of posting this review (Jan 2022), the kits are still available direct from Model Buses Collection through their online shop.
|
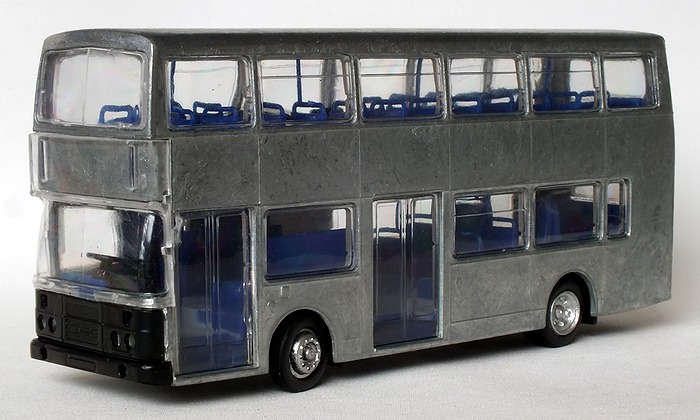
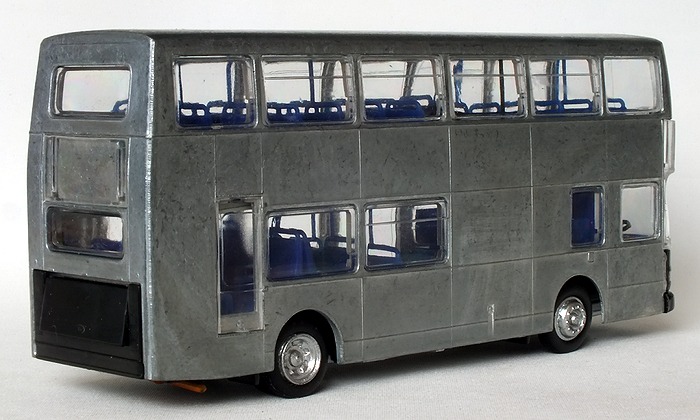
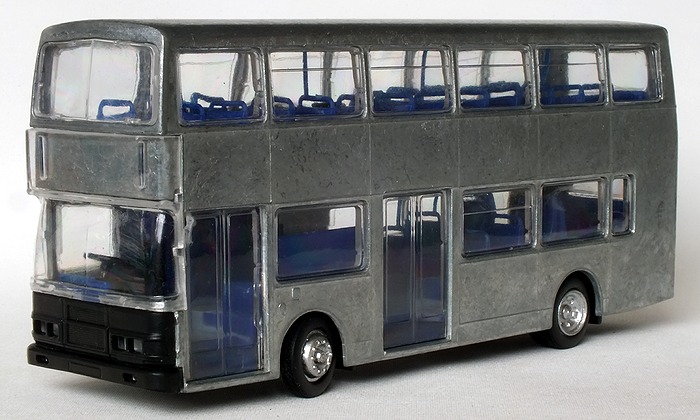
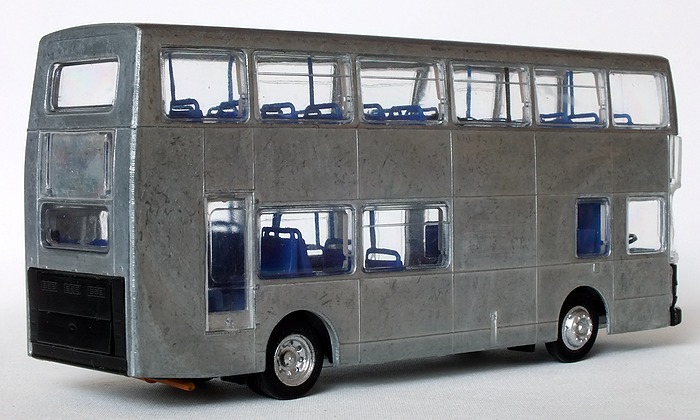
The model with the different external front & rear panels fitted
|
| Model Review Index |

